
Most laboratory incidents happen during routine tasks, not unfamiliar ones, because routine lowers attention. Knowing which lab safety rules apply in your setting, and why they carry mandatory status, is the baseline for consistent compliance. These are not suggestions that labs follow when convenient.
- The baseline behaviors every lab enforces, regardless of discipline
- Which chemical handling mistakes cause the most injuries and why
- How to select the right PPE for each hazard type
- The one-hand rule and other electrical safety requirements
- How to respond to spills, exposures, and emergencies
- Why lab safety rules carry mandatory status, not advisory
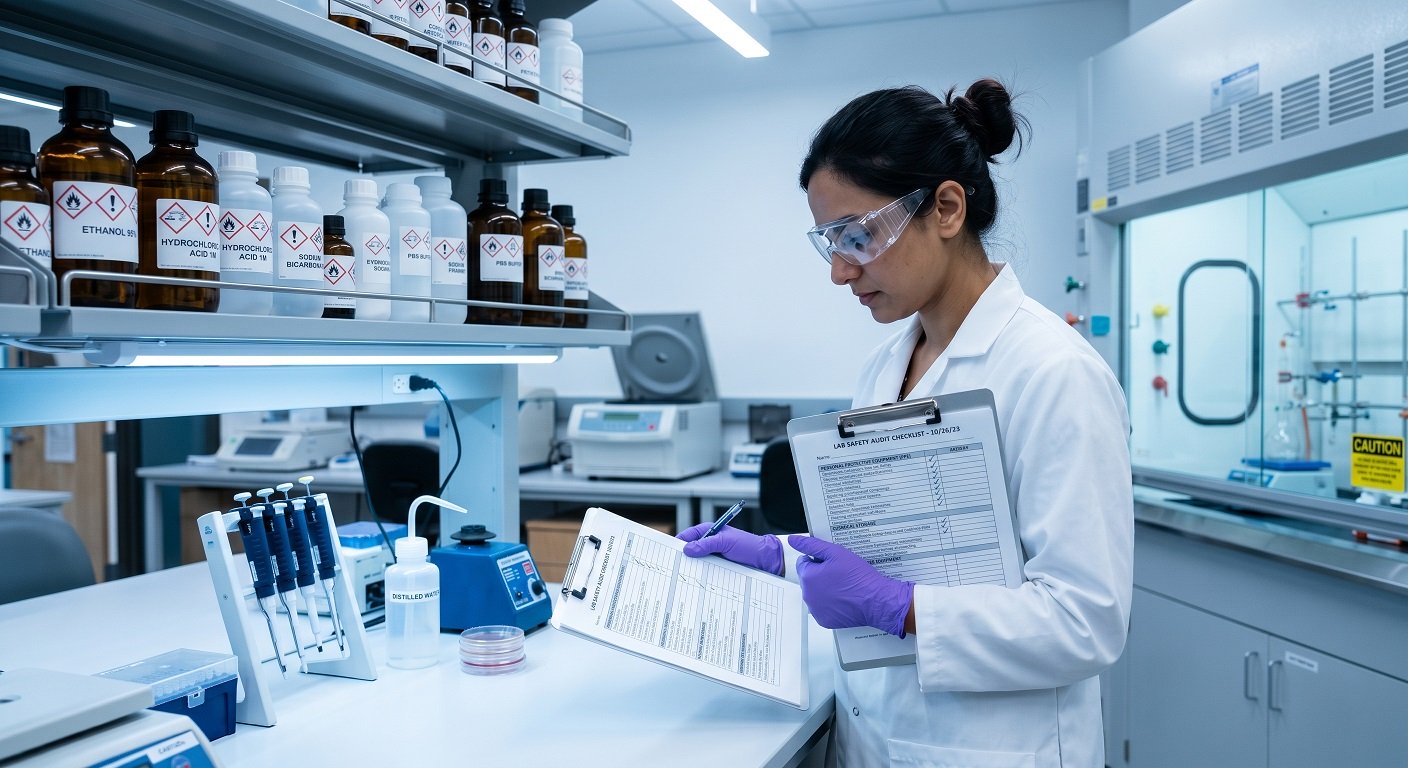
Foundational Lab Safety Rules All Labs Share

Before any discipline-specific rules apply, a set of baseline behaviors governs every laboratory regardless of what is being studied or processed. These are not defaults that labs observe when nothing else is specified. They exist because their absence has a direct, documented relationship with the most common types of lab incidents.
How Physical Controls Prevent Common Incidents
Keep work areas clear and unobstructed at all times. Clutter blocks access to eyewash stations, safety showers, and emergency exits, which must be reachable within seconds. OSHA’s Appendix A requires uncluttered work areas with all chemicals and equipment properly labeled and stored.
No food or drink is permitted where hazardous materials are stored or used, and the reason goes beyond hygiene. Food and beverages create ingestion pathways for chemical, biological, and radiological contamination via hand-to-mouth contact. In radioisotope labs, ingestion and skin absorption are the primary hazard routes, not external radiation exposure.
What You Must Know Before Work Begins
Know the location of every emergency exit and fire alarm before starting any work session. This is a pre-work requirement under OSHA’s Laboratory Standard, not a passive orientation task. Personnel who discover an exit only after an incident must navigate a potentially compromised environment to find it.
Never work alone where hazardous materials or active processes are present: the risk is delayed emergency response. A locked lab with no observation window means an injured worker may not be discovered for hours. Cornell EHS requires a buddy system for high-voltage work, toxic chemical handling, and cryogenic liquid use.
Chemical Lab Safety Rules
Chemical handling mistakes account for a significant share of laboratory injuries, and most follow a recognizable pattern: a familiar procedure performed without full attention to the mechanism behind it. Understanding why each rule exists makes the rule easier to apply consistently, especially when communicating it to team members with varying experience levels.
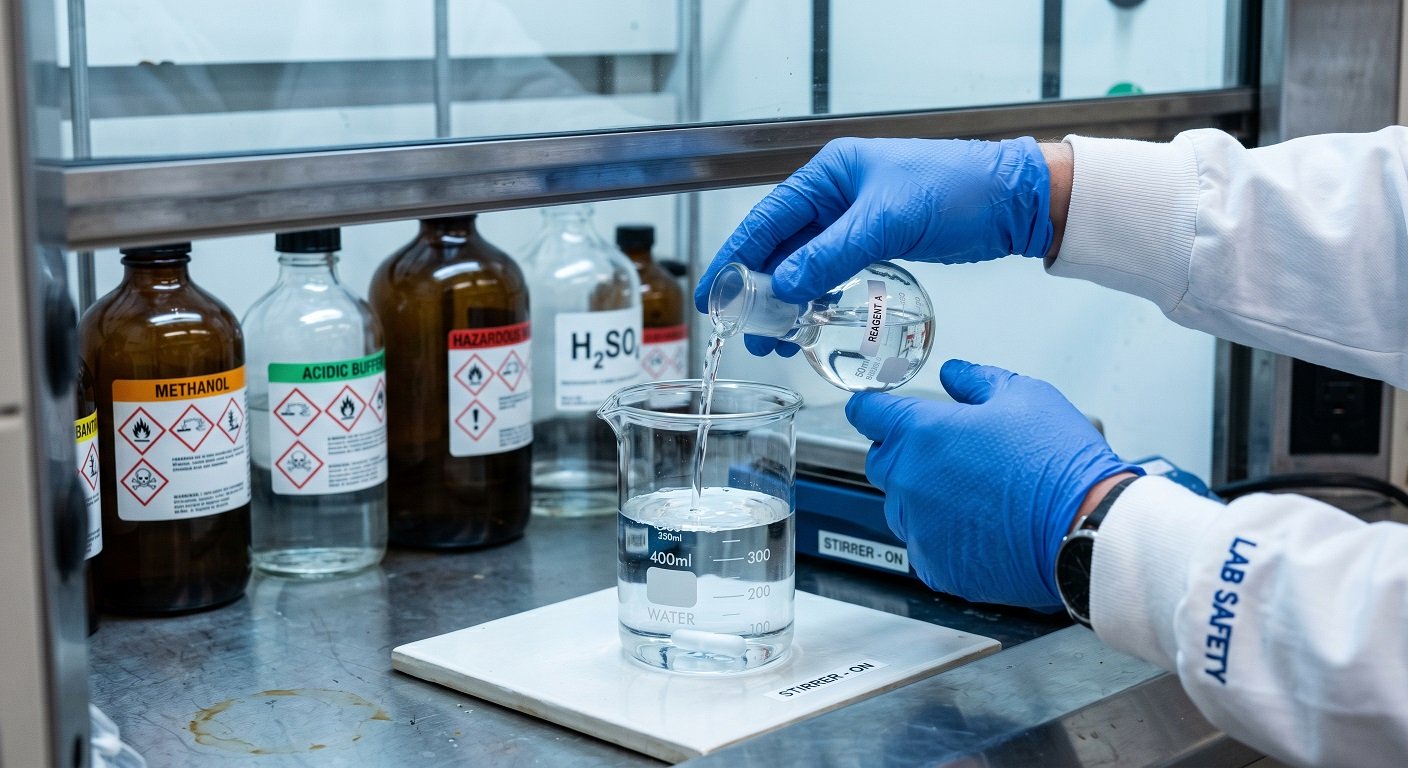
Handling and Storage Rules That Prevent Reactions
The acid dilution rule is non-negotiable: always add acid slowly to water while stirring. Adding water to concentrated acid triggers a violent exothermic reaction (one that releases heat rapidly) at the interface. Strong bases such as sodium hydroxide and potassium hydroxide carry the same exothermic dilution risk.
Never return used chemicals to their stock containers, as residue can contaminate the supply and trigger unexpected reactions. Under OSHA’s Hazard Communication Standard, every container must display the chemical name, concentration, hazard classification, and GHS pictograms. Unlabeled containers should never be used, regardless of how familiar the contents appear.
Ventilation and Waste Rules You Must Follow
Use fume hoods for volatile chemicals that could exceed OSHA Permissible Exposure Limits: room ventilation alone is not sufficient. Fume hoods are not universal, however. Perchloric acid, biological agents, and radiological materials each require purpose-specific containment equipment, not a standard fume hood.
Segregate chemical waste by type before disposal and keep incompatible waste streams in separate, labeled containers. Under EPA’s RCRA, mixing any listed hazardous waste with non-hazardous material permanently classifies the entire volume as hazardous. Reactive wastes are especially sensitive: contact with incompatible materials can ignite, explode, or release toxic gases.
PPE Lab Safety Rules
Wearing PPE and selecting the correct PPE are not the same thing. A lab worker using the wrong gloves or the wrong eye protection may feel protected while remaining exposed. PPE selection rules exist because choosing wrong often provides no more protection than wearing nothing.
Why Eye Protection Selection Actually Matters
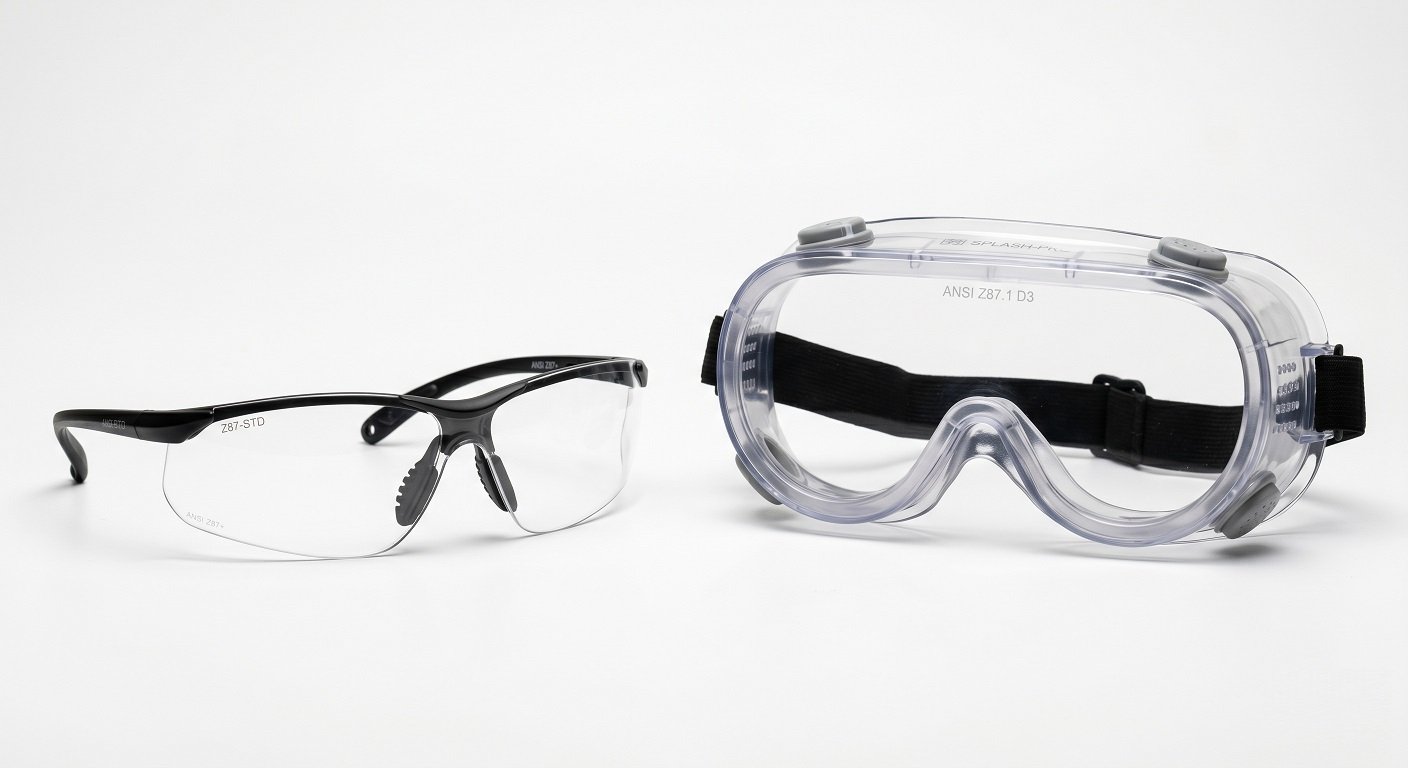
Safety glasses do not seal to the face, leaving gaps where chemicals can enter. Chemical splash goggles with indirect ventilation, rated ANSI Z87 D3, form a sealed barrier required whenever splash risk is present. Face shields are supplementary only and must be worn over primary eye protection, not instead of it.
Gloves and Clothing That Match the Hazard
Glove selection requires matching material to chemical class: latex allows rapid permeation with organic solvents like toluene or acetone. Nitrile gloves are the standard disposable option for most lab chemicals. An intact glove can still allow permeation (molecular chemical passage) before any visible failure occurs.
Lab coats and closed-toe shoes reduce spill contact with skin, a primary route for burns and systemic absorption. Open footwear leaves the foot unprotected against liquid spills and broken glass. This is a specific hazard control, not a dress code requirement.
Electrical Lab Safety Rules
Electrical hazards in laboratories are frequently underestimated because the equipment involved looks ordinary. Power supplies, electrophoresis units, and high-voltage laser drivers can each produce lethal current without obvious warning. The rules governing electrical safety in lab settings address specific injury mechanisms, not general caution.
Rules That Protect You Near Live Equipment
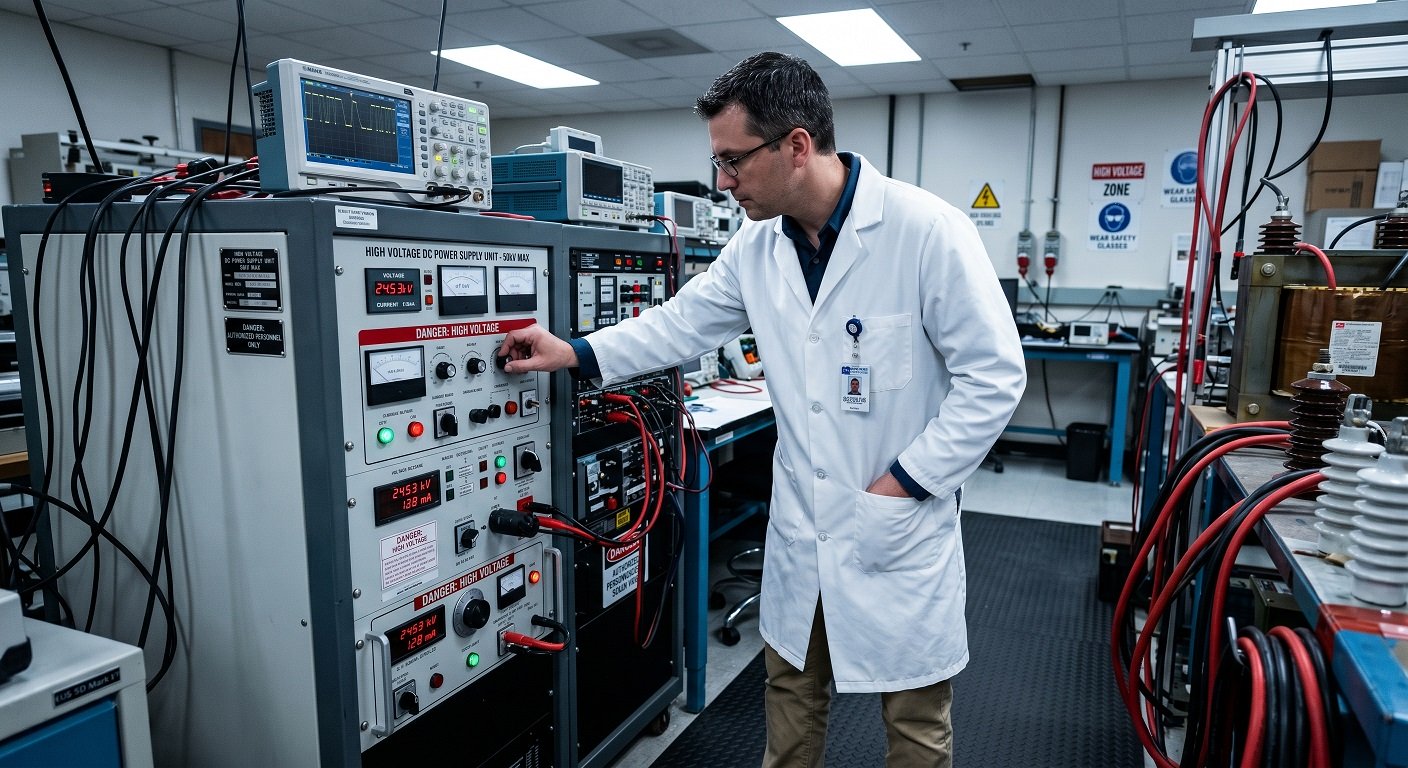
The one-hand rule keeps one hand pocketed or behind the back, preventing current from crossing the chest toward the heart. When both hands contact a circuit simultaneously, current flows hand-to-hand across the chest and through the heart. As little as 75 mA through the chest for five seconds can trigger ventricular fibrillation, where the heart loses its pumping rhythm.
No modification or bypass of high-voltage equipment is permitted without prior supervisor authorization. Most institutional policies classify equipment above 50 V rms AC or 50 V DC as high-voltage. Below that threshold, wet hands or perspiration can still reduce skin resistance enough to produce hazardous current.
Why Extension Cords Fail in Lab Settings
Extension cords should be avoided in laboratory settings wherever possible and must never serve as permanent wiring solutions. In chemical environments, solvent exposure degrades cord insulation and creates failure points absent from standard office settings. Power strips must be UL-listed (certified by Underwriters Laboratories) with built-in circuit breakers and must not be daisy-chained.
Emergency Procedures and Incident Response
Effective emergency response depends on decisions made before an incident occurs, not during one. Personnel who skip pre-work checks lose critical seconds finding emergency equipment when an incident occurs. Locating emergency equipment and knowing how to use it is a pre-work requirement, not an orientation checkbox.
How to Respond in the First Minutes
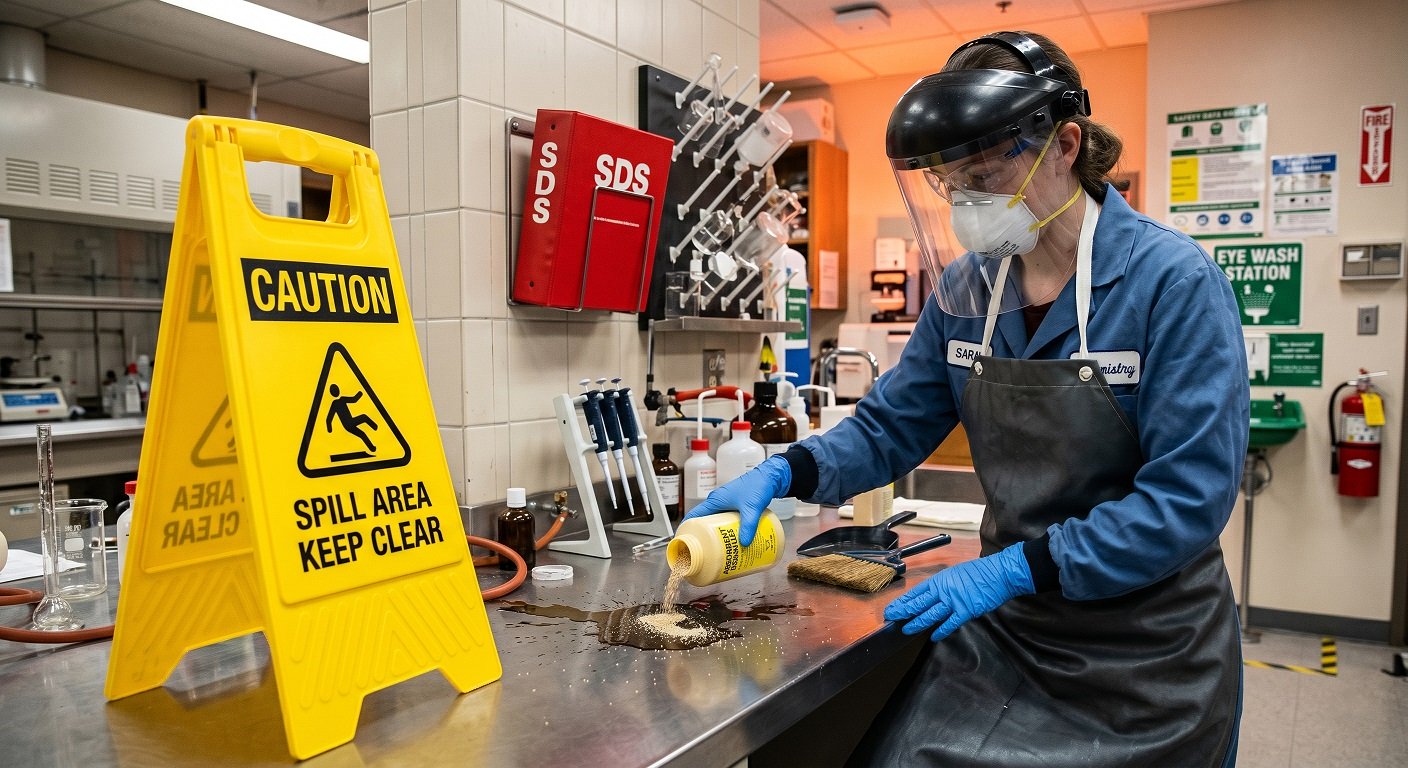
Chemical spill response follows a defined sequence. Notify others immediately, then evacuate if the chemical identity or reaction risk warrants it.
Consult the Safety Data Sheet (SDS), focusing on sections covering hazard identification, first aid, and accidental release. Then contain the spill using appropriate absorbent material, creating a perimeter before covering the remainder.
Collect all contaminated materials and dispose of them as hazardous waste. Document and report the incident regardless of severity.
For eye exposure, begin flushing immediately with water for a minimum of 15 minutes, holding eyelids open throughout.
Skin contact requires flushing with tepid running water for at least 15 minutes, removing contaminated clothing and jewelry while flushing.
When to Call for Help Instead
Call for help rather than attempting personal cleanup when doing so would put the responder at greater risk. Those scenarios require evacuation and response from Environmental Health and Safety (EHS) staff, not personal cleanup. Spills larger than 300 mL, nitric acid spills, and unidentified releases are among the situations that always meet that threshold.
Lab Safety: Professional Q&A
Rules and guidelines differ in one critical way: guidelines recommend, rules require. A lab safety rule codifies a behavior whose absence has resulted in documented injuries or fatalities. The distinction matters because it determines how compliance should be communicated, enforced, and understood by everyone on a team.
Why are lab safety rules mandatory rather than advisory?
Lab safety rules carry mandatory status because people were hurt when they were not followed. OSHA’s Laboratory Standard was promulgated in 1990 specifically because voluntary approaches to lab safety had proven insufficient. Before that standard, general industrial chemical regulations applied to labs even though laboratory chemical use differed fundamentally.
Why do most lab accidents happen during routine tasks?
Most laboratory accidents occur during routine tasks, where the gap between self-assessed and institutionally assessed risk is widest. Familiarity with a procedure reduces perceived risk, and that reduction is the documented mechanism behind non-compliance. A 2012 ACS survey found researchers consistently underestimated their personal risk relative to their institution’s assessment.
How does knowing the reason behind a rule change compliance behavior?
Understanding the mechanism behind a rule changes how consistently it is followed. A lab worker who knows that latex gloves permeate rapidly with organic solvents will select nitrile without being reminded. Workers who only know the rule rely on supervision, while training that explains mechanisms produces more reliable compliance.
How can educators use this reasoning when training new lab members?
Educators and team leads can apply this reasoning directly. New members who understand why a rule exists apply it more reliably when novel situations arise. Framing rules as outcomes of real incidents, rather than institutional requirements, gives them weight a policy document alone cannot.
Use This Framework as a Standing Team Reference
Lab safety rules are not periodic reminders. They are non-negotiable standards built from documented incidents and maintained because voluntary compliance has historically proven insufficient. Every category covered in this article reflects a specific failure mode that rules were written to prevent.
Return to each category when onboarding new team members, updating procedures, or reviewing compliance gaps. Treat it as a standing reference rather than a one-time read. A team that understands why rules exist applies them more consistently than one that only knows what they say.

Purific Australia sells water purification systems, including some of the products and technologies discussed in this article. This content is written to inform, not to sell. Where a Purific product is a relevant solution, we say so plainly. Where it is not the right fit, we say that too.
All technical claims are based on published research, manufacturer data, or direct laboratory testing. If you have questions about a specific product recommendation or want independent verification of any data cited here, contact our technical team.