
White dust on the furniture and a noticeable drop in mist output are usually the first signs that mineral buildup has taken hold inside the unit. Knowing how to descale humidifier parts correctly stops that buildup from shortening the life of the machine.
The fix is straightforward, and most of it comes down to white vinegar, a soft brush, and the right sequence.
What this guide covers:
- Descaling ultrasonic and evaporative models separately.
- Disinfecting after the mineral deposits are gone.
- Building a maintenance cadence that keeps the next cleaning session shorter than the last.
What Limescale Is and Why It Builds Up
Most humidifier problems that owners attribute to a failing unit trace back to something simpler: the minerals in tap water.
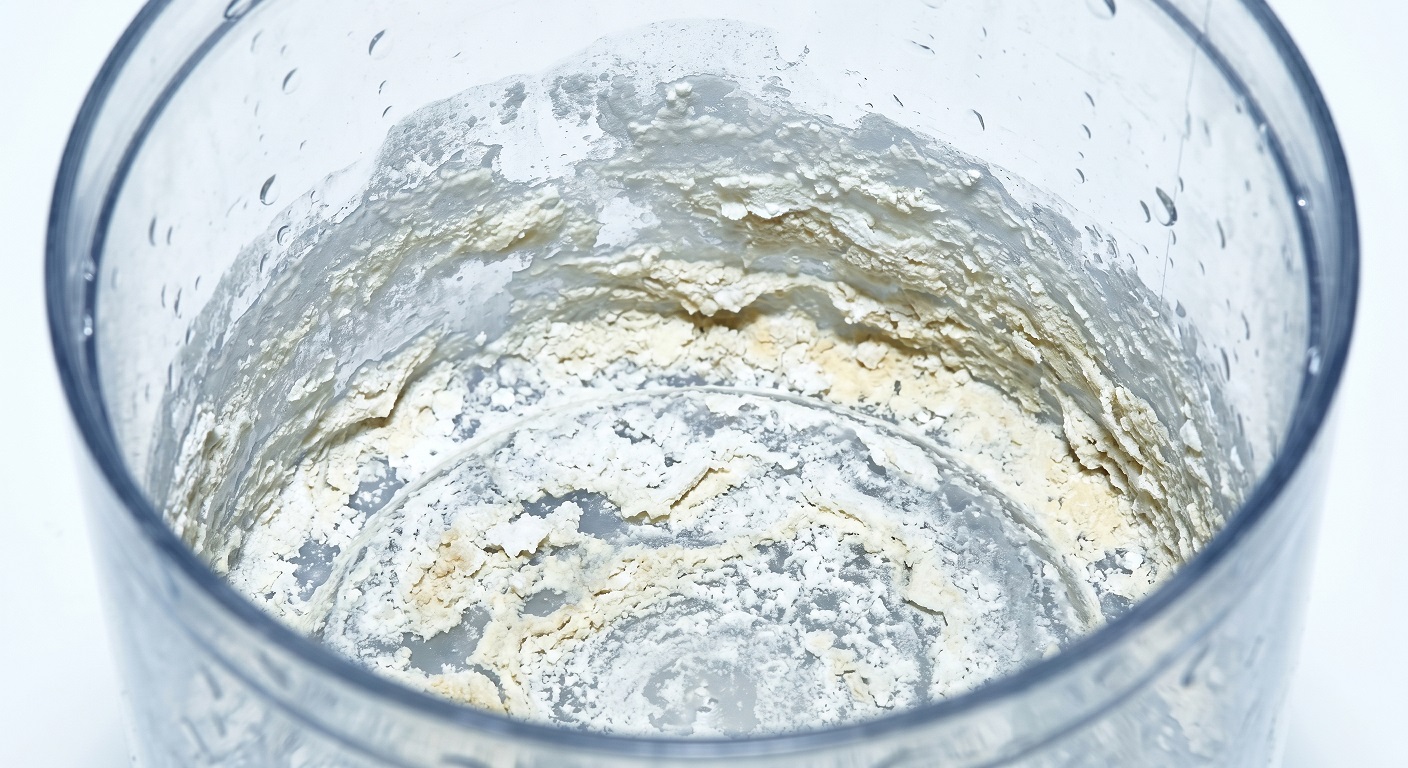
Every time the humidifier runs, water evaporates into the air and the dissolved minerals it carried stay behind, coating internal surfaces with a hard, chalky deposit.
That deposit is limescale, composed mainly of calcium carbonate (CaCO3), and it accumulates with every cycle.
Why Tap Water Keeps Feeding the Problem
Hard water contains elevated concentrations of calcium, magnesium, carbonate, and sulfate compounds.
The harder the local water supply, the more mineral content is left behind with each evaporation cycle.
Buildup rate is not fixed. It depends directly on how many hours per day the unit runs and how much dissolved mineral content the water carries to begin with.
Ultrasonic humidifiers add a complication that evaporative models do not.
Rather than evaporating water naturally through a wick, an ultrasonic unit uses a vibrating transducer disc to atomize water into a fine mist.
When tap water is used, the dissolved minerals are atomized along with the water and dispersed into the air as white dust, settling on nearby furniture and potentially being inhaled. The EPA identifies this mineral dispersal as one of the two primary risks of improper humidifier use.
What Untreated Buildup Does to the Unit
The EPA also recommends cleaning portable humidifiers every third day specifically to reduce scale accumulation.
That interval surprises most owners, who assume monthly cleaning is adequate.
In a hard-water area with a unit running eight or more hours daily, visible mineral film can begin forming within three to four days of a thorough cleaning.
Left untreated, limescale does more than look unpleasant.
Deposits clog water passages, reduce mist output, and interfere with the transducer disc’s ability to vibrate at full capacity.
In ultrasonic models, mineral encrustation on the disc directly dampens its vibration, which is why a neglected unit gradually produces less and less mist before stopping altogether.
Over time, the damage can become irreparable.
Limescale also creates a physical surface where bacteria and mold can anchor more easily, turning a scaled humidifier into a faster incubator for biological contamination.
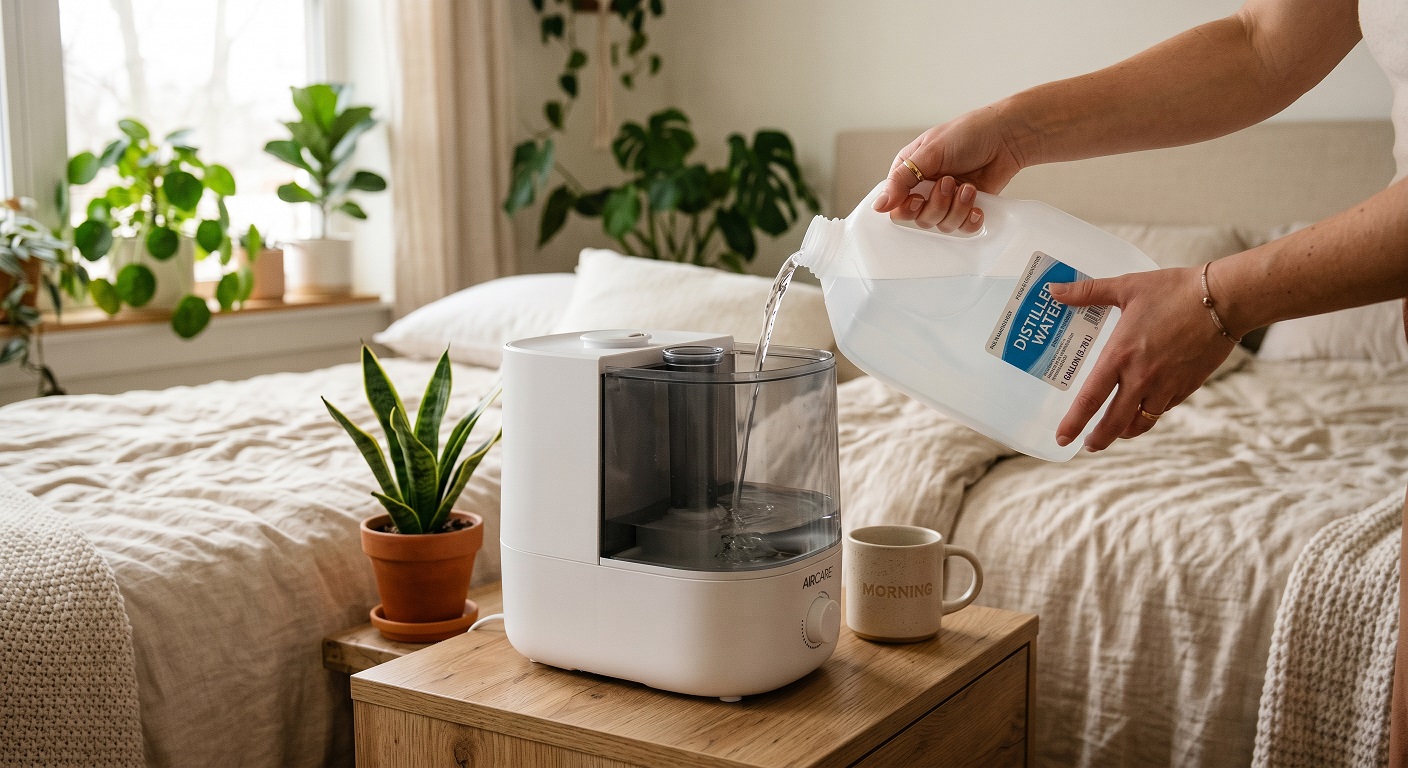
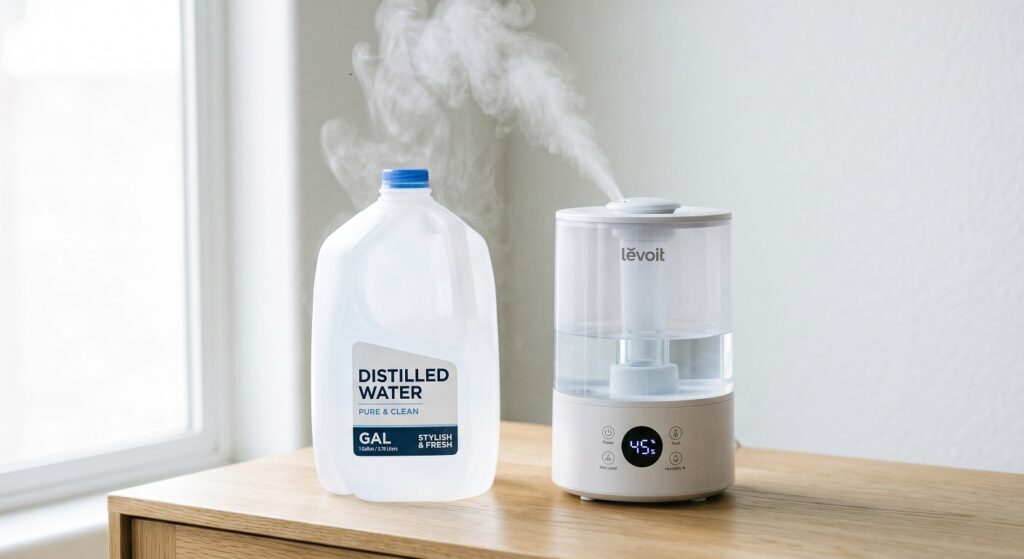
The Mayo Clinic recommends using distilled or demineralized water specifically because it contains far fewer minerals than tap water, which directly slows the rate at which deposits form. Distilled water contains less than 1 PPM of dissolved solids, compared to typical tap water at 60–120 PPM or more.
How to Descale an Ultrasonic Humidifier
Reduced mist output is usually what prompts a first descaling.
By that point, mineral deposits have already formed a layer on the transducer disc thick enough to dampen its vibration.
The process below removes those deposits without damaging the disc or the plastic housing around it.
Before starting, unplug the unit completely.
The vinegar soak is a static process and the humidifier must not be running at any point during it.
Running a vinegar solution through an operating ultrasonic unit disperses acetic acid into the air, which is a respiratory irritant and does nothing useful for the buildup inside.
The Vinegar Ratio and What It Does
Mix one part white distilled vinegar with one part water.
For most tanks, two tablespoons of vinegar per half gallon of water is a practical working ratio for the tank fill.
White vinegar contains approximately 5% acetic acid, which reacts with calcium carbonate on contact, breaking the mineral compound apart into calcium acetate, water, and carbon dioxide gas.
That reaction is visible as light fizzing or bubbling on heavier deposits.
Citric acid is a viable alternative if the vinegar smell is a concern.
Use one to two tablespoons per quart of distilled water. It is odorless and produces the same acid-base reaction against calcium carbonate.
Either option works; the key is adequate concentration and contact time, not the specific acid used.
Do not use bleach as a descaling agent. Bleach does not dissolve mineral deposits and can damage internal plastic components and ultrasonic elements.
It has a role in disinfecting, covered in a later section, but it is not a substitute for the vinegar or citric acid soak here.
How to Soak the Tank and Disc
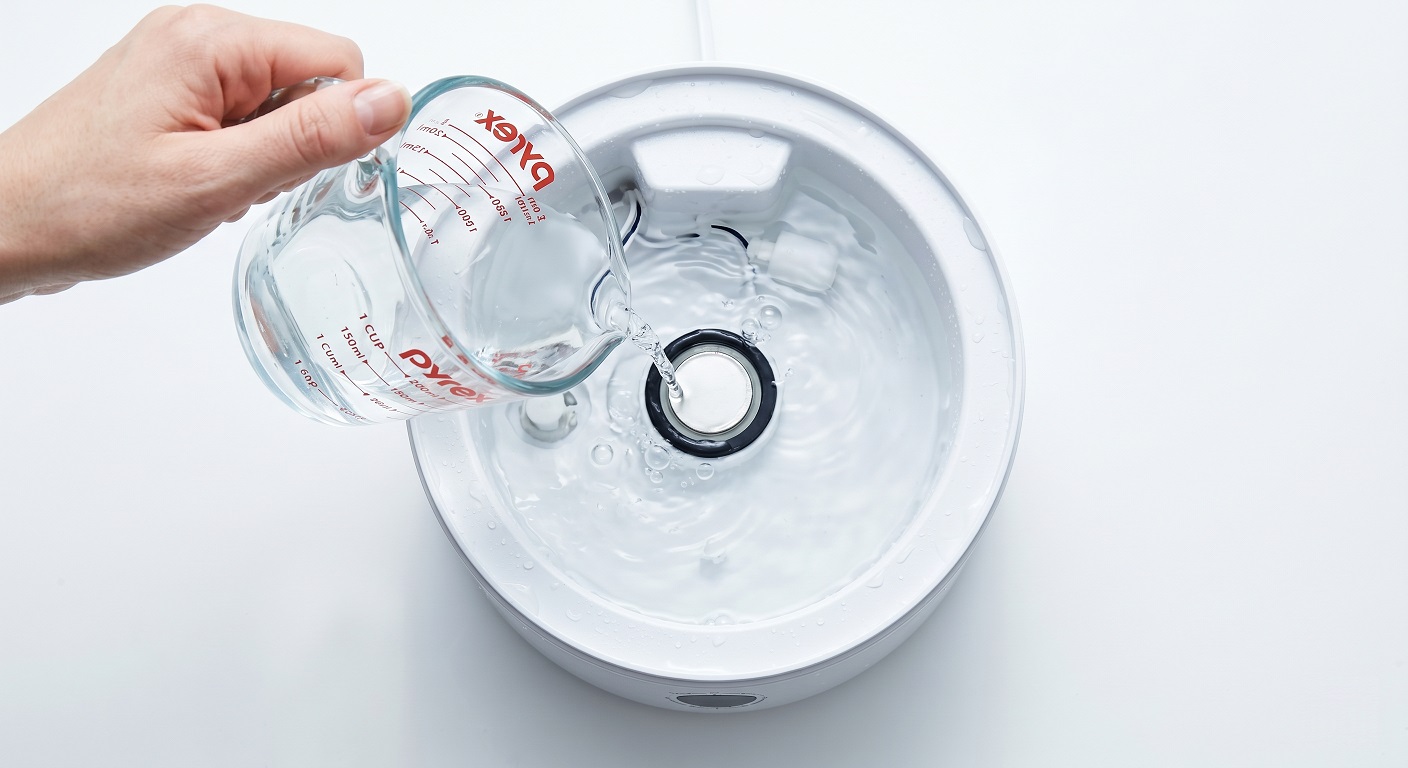
Fill the water tank with the vinegar solution and swish it to coat all interior walls.
Pour enough solution into the base reservoir to reach the fill line, ensuring the transducer disc at the bottom of the base is fully submerged or covered by the liquid.
Let everything soak for 20 to 30 minutes for moderate buildup.
If mist output has dropped noticeably, the transducer disc likely has heavier encrustation.
In that case, pour the vinegar solution directly onto the disc and allow it to sit overnight.
The longer contact time gives the acetic acid enough exposure to work through thicker mineral layers.
This step alone resolves most cases of low output before any mechanical fault needs to be considered.
After soaking, use a soft-bristled brush or a soft cloth to gently scrub the tank walls, base reservoir, and transducer disc.
Light deposits will have dissolved completely. Heavier buildup will have softened and lifts away with minimal pressure.
If a hard white crust remains in any area after scrubbing, pour fresh solution on that spot and allow another 20-minute soak before trying again.
Rinsing and Reassembly
Rinse every component thoroughly under running water. Multiple passes are necessary.
Residual vinegar left inside the tank will be atomized and misted into the room when the unit next runs, and the acetic acid vapors cause respiratory irritation even at low concentrations.
The EPA specifically notes that cleaning agents must be thoroughly rinsed from humidifiers before use.
After rinsing, wipe all surfaces dry with a clean cloth and allow the components to air dry fully before reassembly.
Do not reassemble while any surface is still damp inside the base, particularly around the transducer disc.
Once fully dry, reassemble and fill with fresh water.
Do not use abrasive scrubbers or scouring pads at any point in this process.
Scratches on the transducer disc surface reduce its lifespan and scratches on plastic housing create surfaces where scale adheres faster on the next cycle.
How to Descale an Evaporative Humidifier
Evaporative humidifiers collect mineral deposits differently than ultrasonic models do.
Because only pure water molecules evaporate through the wick, every dissolved mineral in the tank water stays behind.
Over time that concentration compounds, and the water tray becomes the heaviest site of mineral accumulation in the entire unit.
The descaling process here uses the same vinegar solution as the ultrasonic method, but the sequence is different.
The wick filter requires its own handling, and getting that step wrong is the most common mistake in evaporative humidifier cleaning.
How Wicking Concentrates Minerals in the Tray
The wick filter draws water from the tray through capillary action, the process by which porous materials absorb liquid along their surface, and holds it where the fan causes evaporation.
Because minerals cannot evaporate with the water, they remain in the tray and in the wick itself.
Each hour of operation makes the tray water progressively more concentrated, which is why the tray develops thick mineral rings well before the tank does.
This concentration effect means the base tray needs a more aggressive soak than the tank.
Fill the base tray with undiluted white vinegar for the descaling soak.
For the water tank, use the same ratio from the ultrasonic section: two tablespoons of white vinegar per half gallon of water, or fill the tank just over halfway with water and add two tablespoons of vinegar.
Allow both to soak for at least 20 minutes.
A heavily scaled base tray may need 30 to 60 minutes of contact time before the deposits begin to soften.
After soaking, use a soft-bristled brush to scrub the tray tracks, the water level sensor, and the areas where the wick sits.
Rinse the tank and tray thoroughly under running water and wipe all surfaces dry before reassembly.
What to Do with the Wick Filter
The wick filter must not be soaked in vinegar.
Acetic acid strips the antimicrobial coating on most wick filters and breaks down the cellulose or synthetic fiber structure, causing the filter to become brittle and lose its wicking ability.
A vinegar-soaked wick will perform worse after cleaning than it did before.
The correct approach is to remove the wick, rinse it under cool running water only, and assess its condition.
A wick that is still flexible and absorbent when wet can go back in.
One that feels stiff, has visible white mineral crust that does not rinse away, or no longer absorbs water readily should be replaced.
A filter that looks structurally intact can still be functionally saturated with mineral deposits.
Stiffness and reduced absorbency are the reliable tests, not appearance alone.
Wick filters in hard-water areas typically need replacement every six weeks during periods of heavy use.
In softer water areas or with moderate use, a filter may last up to 90 days.
Using distilled water extends replacement intervals significantly because far fewer minerals reach the wick in the first place.
Reassembly and What to Check Before Restarting
Once the tray and tank have been rinsed and dried and the wick has been rinsed or replaced, reassemble in reverse disassembly order.
Wipe down any fan housing vents and air inlet areas with a damp cloth before putting the unit back together.
These surfaces do not get soaked but do accumulate mineral dust that reduces airflow over time.
Fill with fresh water and run the unit briefly to confirm mist output has returned to normal.
If output is still reduced after a full soak and a wick replacement, check whether the tray tracks or water level sensor have residual scale blocking water flow to the wick.
A second targeted soak on those specific areas usually resolves it.
Disinfecting Is a Separate Step from Descaling
A humidifier that has just been descaled is free of mineral deposits. It is not necessarily free of mold or bacteria.
Vinegar dissolves calcium carbonate scale but it is not an EPA-registered disinfectant, and it cannot reliably kill the range of pathogens that grow inside a humidifier tank.
The distinction matters because the symptoms of mineral buildup and biological contamination can overlap.
Reduced output points to scale.
A musty or sour smell after cleaning, however, points to bacterial or mold growth that the vinegar soak did not address.
A descaled humidifier that still smells wrong needs disinfecting, not another round of vinegar.
How to Spot Mold and Bacterial Growth
Mold inside a humidifier tank appears as black spots, fuzzy green patches, or discolorations in white, gray, pink, or orange.
Pink growth is commonly caused by bacteria rather than true mold.
A slimy film on the water surface or cloudy tank water are also indicators of active biological contamination.
In some cases the unit shows none of these signs visually but still causes increased allergy or respiratory symptoms when running, a lagging indicator that contamination is present.
Scale makes the problem worse by providing a physical anchor for mold and bacteria to grip.
Organisms protected by mineral deposits are shielded from disinfectants, which is exactly why disinfecting must follow descaling rather than replace it.
Removing the scale first gives the disinfectant full contact with all interior surfaces.
How to Disinfect After Descaling
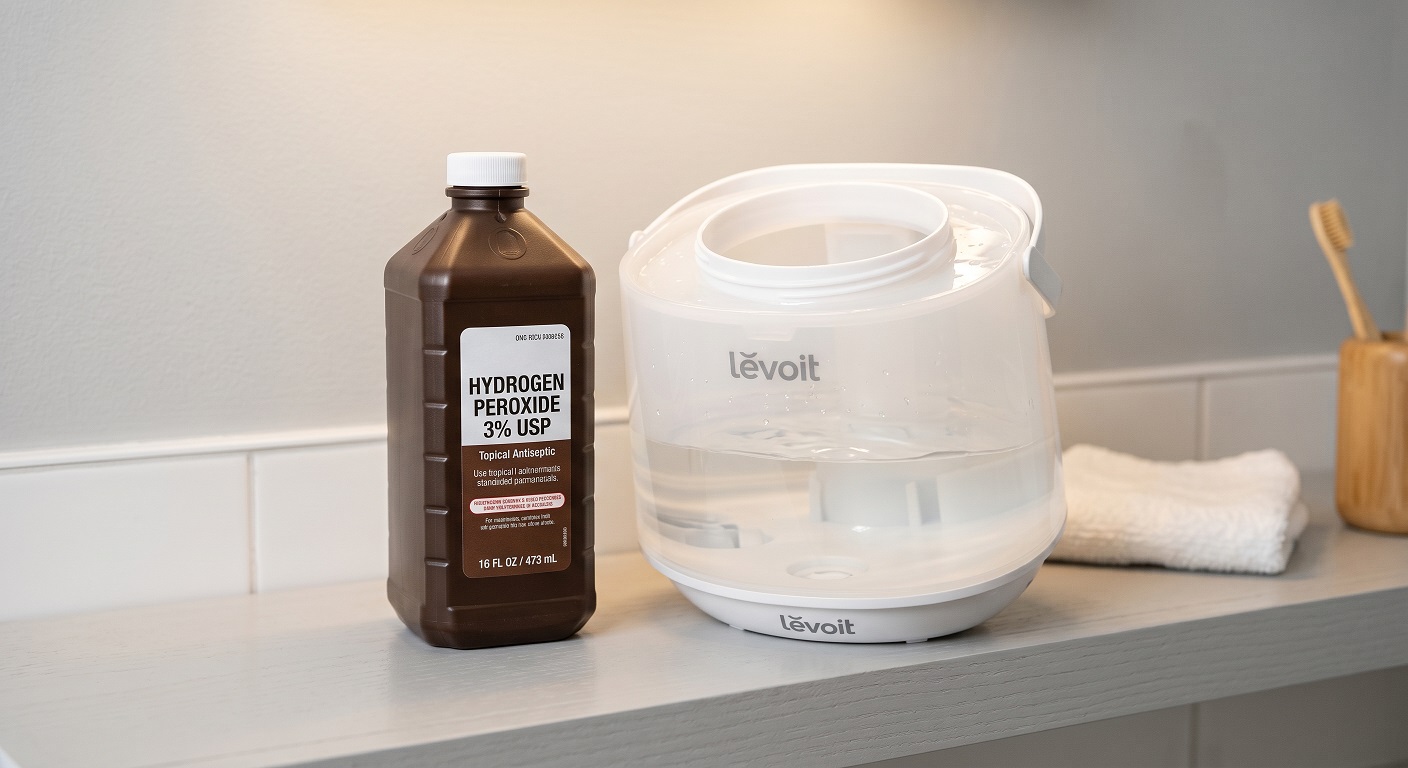
The EPA recommends 3% hydrogen peroxide as a disinfecting agent for humidifier surfaces.
To use it, fill the tank with a 50/50 mix of water and 3% hydrogen peroxide, swish the solution to coat all interior surfaces, and allow it to sit for 20 to 30 minutes.
Rinse thoroughly until no peroxide odor remains before reassembly.
Hydrogen peroxide breaks down into water and oxygen after use and does not leave residues that could be misted into the air.
An alternative is a diluted bleach solution: one teaspoon of liquid chlorine bleach per one gallon of water.
Apply it to the tank and base, allow it to sit for at least 20 minutes, then rinse repeatedly until no bleach odor remains.
Do not use bleach on evaporative wick filters. It degrades the filter material and should be applied to the tank and base only.
Never mix bleach and vinegar at any stage of this process.
Combining acetic acid with sodium hypochlorite produces chlorine gas, which causes severe respiratory damage.
How Often to Disinfect
The EPA recommends cleaning portable humidifiers every third day, and that cadence applies to both descaling and disinfecting for units in regular use.
For most households, a practical interpretation is to descale on the same schedule and run a hydrogen peroxide disinfecting soak at least once per week.
Units that have developed visible mold or produced a musty odor should be disinfected immediately, before the next use.
Descaling removes the mineral foundation that biological growth depends on.
Disinfecting eliminates the organisms themselves.
Running both steps in sequence, and keeping to a consistent cadence, is what keeps a humidifier producing clean output rather than just more mist.
How to Prevent Buildup Between Descaling Sessions
Descaling fixes the problem after it has formed.
The habits below reduce how quickly it comes back, which matters because the faster buildup returns, the more intensive the next cleaning session needs to be.
Early-stage mineral film dissolves in minutes under a dilute vinegar solution.
The same film left to harden over weeks requires a much longer soak at a higher concentration.
How quickly buildup returns depends mainly on two variables: the mineral content of the water going into the tank and how many hours per day the unit runs.
Both are adjustable.
Water Choice Makes the Biggest Difference
Tap water in a hard-water area running through an ultrasonic humidifier eight or more hours per day can produce visible mineral film within three to four days of a thorough cleaning.
With distilled water and moderate use of four to six hours daily, the same unit may run for several weeks before deposits become visible.
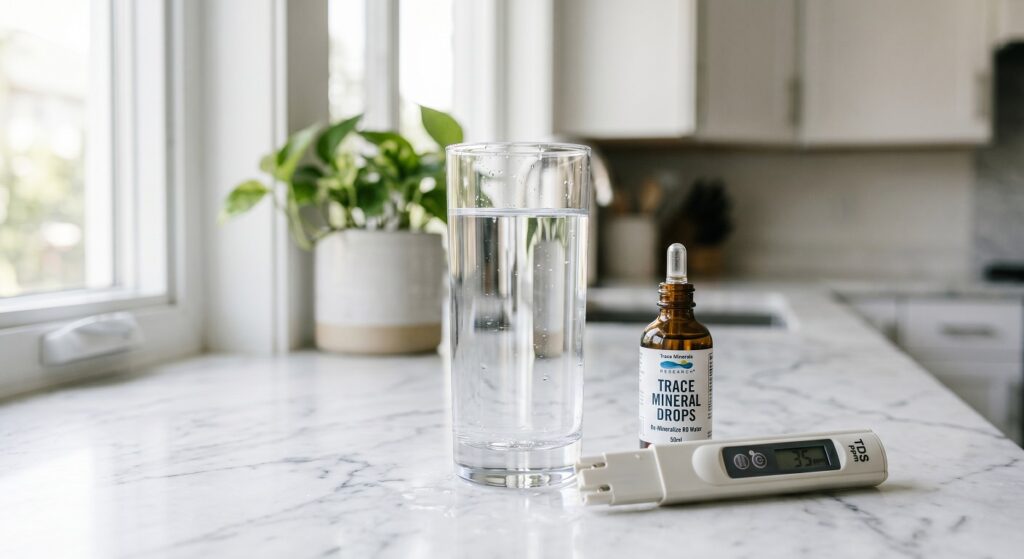
The difference comes down to dissolved mineral load: typical tap water carries 60 to 120 PPM (parts per million) or more of dissolved solids, while distilled water contains less than 1 PPM.
The Mayo Clinic recommends distilled or demineralized water specifically because it contains far fewer minerals than tap water, directly reducing the rate at which deposits form and the risk of bacterial growth that mineral buildup accelerates.
Refrigerator-filtered water sits between the two: it reduces dissolved solids meaningfully compared to unfiltered tap water but does not reach the near-zero mineral content of distilled.
It is a practical middle option for owners who run the humidifier heavily and find the cost of distilled water adds up over a season.
Distilled water does not eliminate the need to descale entirely.
Trace minerals and environmental factors mean some accumulation still occurs over time.
The interval between sessions simply extends, sometimes significantly.
Daily and Weekly Habits That Slow Accumulation
Three consistent habits between full descaling sessions slow mineral accumulation and keep each cleaning shorter than the last.
Why You Should Never Leave Standing Water in the Tank
Empty the tank at the end of each session, wipe the interior dry with a clean cloth, and refill with fresh water before the next use. Standing water concentrates minerals with every hour it sits, and a tank that is never fully emptied compounds the buildup rate faster than the evaporation cycle alone would.
The Weekly Wipe That Keeps Scale from Setting
Wipe down the base, the tank interior, and all accessible surfaces with a vinegar-dampened cloth once per week. Early-stage mineral film has not yet hardened into scale and comes off easily at this stage. Catching it weekly means the full descaling session takes a fraction of the time it would otherwise require.
Keep Humidity Between 30% and 50%
Keep indoor humidity levels between 30% and 50%, as the EPA recommends. Running the humidifier above 50% humidity accelerates both mineral deposition and mold growth, so a humidistat-equipped unit set within that range runs fewer cumulative hours and deposits less scale for the same comfort outcome.
Why the Full System Works Together
Descaling, disinfecting, and daily maintenance are not three separate tasks. They are one system, and each part depends on the others running in sequence.
Vinegar removes the mineral deposits. Hydrogen peroxide clears the biological contamination the vinegar left behind.
Daily emptying and weekly wipe-downs slow the rate at which the cycle needs to repeat.
The payoff is a unit that runs at full output, produces clean mist, and requires less effort to clean each time the cadence holds.
Start with whichever step the humidifier needs most right now, then build from there.

Purific Australia sells water purification systems, including some of the products and technologies discussed in this article. This content is written to inform, not to sell. Where a Purific product is a relevant solution, we say so plainly. Where it is not the right fit, we say that too.
All technical claims are based on published research, manufacturer data, or direct laboratory testing. If you have questions about a specific product recommendation or want independent verification of any data cited here, contact our technical team.
ok so i just did the overnight vinegar soak and i genuinely can’t believe how much mist is coming out now. thought my humidifier was dying. it was just absolutely caked. why does nobody tell you this when you buy one lol
Honestly the packaging should come with a cleaning schedule. Most people assume it’s a set and forget appliance and by the time mist output drops noticeably the transducer disc is already pretty heavily coated. Glad it’s back to normal.
I soaked my wick in vinegar last winter because literally every guide I found said to. it went completely stiff and I had to bin it. I was so annoyed because I’d just bought it. glad someone finally wrote that you’re NOT supposed to do that and actually explained why
That advice is everywhere and it’s wrong. The acetic acid strips the antimicrobial coating and breaks down the fiber structure faster than the mineral buildup would have anyway. Rinse under cool water only and replace when it goes stiff or stops absorbing properly.
good article. bookmarked.
I have asthma and I’ve been running an ultrasonic humidifier on tap water for ages. the part about inhaled mineral particles actually scared me a bit. switched to distilled today. also did i read that correctly that the EPA says clean every 3 days?? I was doing it monthly at best
Yes the three day interval is the actual EPA guidance and it surprises almost everyone. For someone with asthma the distilled water switch is the right call, it basically removes the mineral mist issue at the source. The regular cleaning cadence matters too especially for you since scale gives bacteria a surface to anchor on.
does the citric acid method actually work as well as vinegar? I hate the smell of vinegar in the house for hours after cleaning, my partner complains every time. would love to switch if it’s genuinely the same result
Same mechanism, same result. Both produce an acid-base reaction with calcium carbonate. Citric acid is odorless and dissolves easily in water. One to two tablespoons per quart. If the vinegar smell is a recurring issue in your house citric acid is the better option.
the vinegar and bleach = chlorine gas warning. i have definitely done this before. thought the fumes were just strong cleaning smell. they were not just strong cleaning smell.
I descaled mine a few weeks back and there was still a musty smell afterward. did a second vinegar soak thinking I hadn’t cleaned it properly. still smelled. just realised from this article that vinegar doesn’t actually kill the bacteria, it just removes the scale. wish I had known that before wasting an afternoon on round two of the same thing that wasn’t even fixing the problem
That’s exactly the trap. The smell after a vinegar soak almost always means bacterial growth that the acid didn’t address. Hydrogen peroxide soak after the descale is what clears it. Make sure you’ve rinsed all the vinegar out first before you start the peroxide step.
my husband thought I was being dramatic about the white dust on the bookshelves. showed him this article. he has not said anything since. thank you Nathan
Sydney water is brutal on these things. I live in Parramatta and my humidifier gets visible scale within a week of cleaning it. Switching to distilled was the best decision I made, cleaning interval went from weekly to basically once a month.
Melbourne apartment, pretty hard water. My humidifier basically stopped producing mist after two months and I assumed it was just a cheap unit. Almost threw it out. Tried the overnight soak on a whim and it’s completely back to normal. Pretty annoyed I nearly binned a perfectly fine appliance tbh
just got my first humidifier, starting distilled water from day one. not going through all that.
citric acid tip is underrated. no smell. same result. why is this not in every guide
Question, do you need to do the full disinfect step every single time or just when there’s visible mold or a smell? I clean mine pretty regularly and I’m not sure if the hydrogen peroxide step is something I should be doing every week or just when I notice a problem
If you’re cleaning regularly and there’s no smell or visible growth, once a week for the peroxide soak is a reasonable cadence for regular use. The EPA guidance is every third day for the full clean but practically speaking most households find weekly works fine if you’re also doing the daily empty and refill habit.
had my humidistat sitting at 65% all winter. oops
I manage a few short term rental properties and we include humidifiers in some of them. the turnover clean never touches the base tray properly, just a rinse and wipe. been wondering why guests occasionally say the unit isn’t working well after the first night. that’s probably it. going to update the cleaning checklist for our cleaners
Retired chemist here. The acetic acid reacting with calcium carbonate to produce calcium acetate, CO2 and water is exactly right. Rare to see a consumer article get the chemistry accurate without dumbing it down incorrectly. The fizzing on heavier deposits is the CO2 escaping. Good write up.
That means a lot coming from a chemist. Getting the mechanism right felt important because it explains why contact time and concentration are the variables that actually matter, not just which cleaning product you reach for.
I’ve been telling people to use distilled water in humidifiers for years but when they ask me why I could never explain it well beyond “it’s cleaner.” the part about tap water being 60 to 120 ppm versus distilled at less than 1 ppm is a really clear way to put it. using that explanation from now on
every other guide just says “clean with vinegar” and calls it a day. this one actually explains what’s happening and why each step matters. big difference.
we run a humidifier in our toddler’s room every night. I clean the tank but I’ve honestly never looked at the base properly. just went and checked after reading this and there is a visible hard ring all the way around. doing the soak tonight. feel a bit terrible that it’s been sitting like that for months
randomly: does anyone know if refrigerator filtered water is actually worth it over tap or is it basically the same thing for humidifier use? article mentions it briefly but i wasn’t sure if it actually makes a noticeable difference
It’s a meaningful step down from tap but nowhere near distilled. Fridge filters reduce dissolved solids noticeably but don’t get close to the near-zero mineral content of distilled water. Still worth using over straight tap if distilled isn’t practical for you, it’ll slow the buildup rate.
We have a humidifier in our clinic waiting room that I’m pretty sure hasn’t been properly cleaned since it was installed. there’s a faint smell when it runs that I keep blaming on the carpet. reading this I think I know what it actually is. raising it with the practice manager tomorrow and sending her this link
Worth framing it as a health issue rather than just a maintenance one, especially in a waiting room. A unit that hasn’t been disinfected properly can be actively dispersing bacteria into the air. The descale followed by a hydrogen peroxide soak should sort it out.
been blaming the white dust on my furniture on my cats for two years. turns out it’s the humidifier. i feel so bad for yelling at them
your cats are innocent and deserve an apology 😭
We run two ultrasonic humidifiers at our yoga studio and different staff clean them each week so nothing is consistent. turned this article into a laminated checklist and stuck it inside the cleaning cupboard. problem solved hopefully